I Yarn for Ohio
Ozzie F. ’27/’28
The month of January is arguably one of my least favorite times of year. The days are short, the weather is gray, and spring is nowhere in sight. When I first realized that I would be spending this dreary month at home, I knew I would struggle to find motivation for my independent Winter Term project. The solution? Incorporate multiple activities to create a more enriching and sustainable project. Ultimately, I decided to combine two of my favorite hobbies: knitting and Spotify playlists. To read more about the musical aspect of my project, you can check out my last blog, but in this installment I will focus on the yarn-related learning I have done so far.
The first step of this process was to pick out a pattern. In the past, I had only ever done small-scale projects, so being able to pick something larger was somewhat of a thrill. After searching through various free patterns online, I settled on Purl Soho's Mosaic Squares Blanket. This blanket included some techniques I hadn't tried before, and it looked like a fun challenge.
When I arrived in Massachusetts, I took a trip to Webs, a.k.a. America's Yarn Store. Armed only with my pattern and a vague budget, I felt more than a little unprepared as I walked into the large warehouse of yarn. After speaking with a sales associate, I found myself stranded in the middle of an aisle labeled "Worsted Weight." This leads me to the first lesson I learned in this process: that yarn is categorized by weight, essentially the thickness of a single strand. The weight also tells you what size needle to use for optimal results. So, by looking at my pattern, I could deduce that I needed 3000 yards of either worsted or DK—double knitting—weight yarn, divided into two different colors.
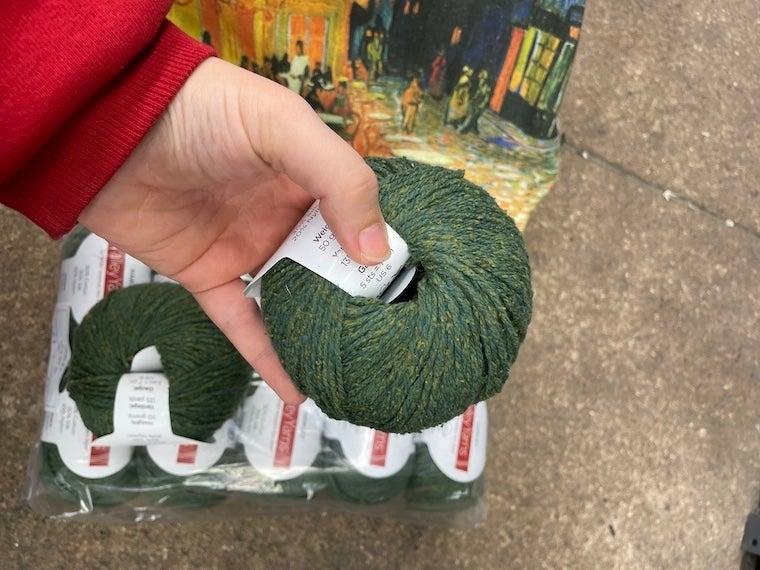
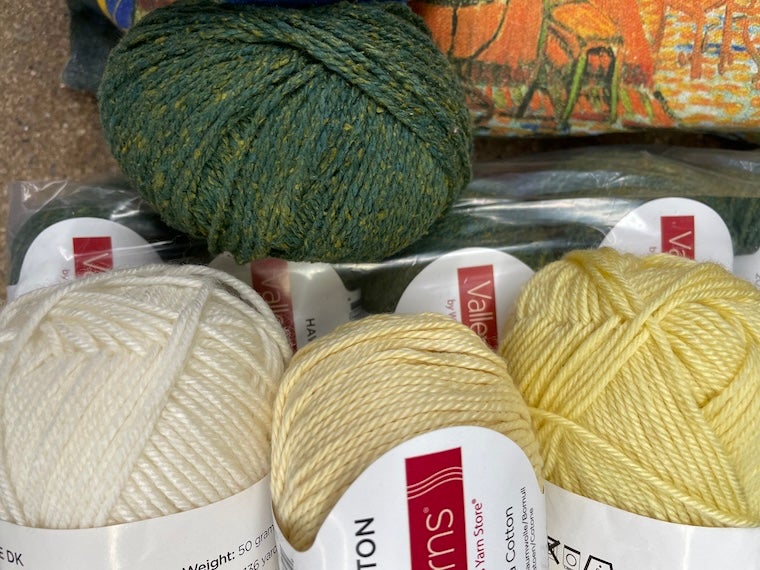
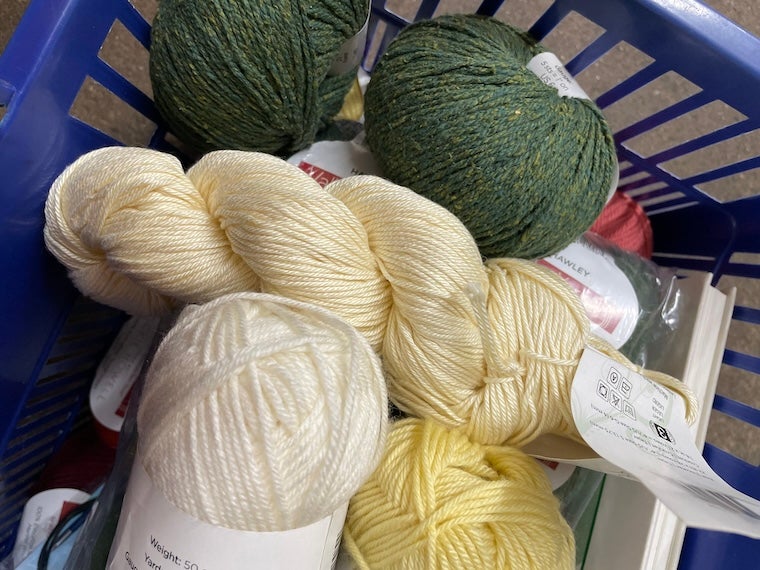
The second thing I learned at Webs is that it's cheaper to buy yarn in bulk. The first yarn I settled on was a beautiful green color (see Image 1 below) and it was 25% off because I bought more than ten skeins. My next challenge was picking a lighter yarn that would contrast well with the green without being too flashy—or too expensive. After what felt like hours of yarn hunting, I started to feel like I was running out of options (Image 2), but I decided to make a final lap around the warehouse. And it's a good thing I did because I found the perfect cream-colored DK yarn for nearly 50% off! (Image 3)
Once I got home, I immediately got to work. I first had to pick a technique for casting on, of which there are many. I soon realized the struggles of managing the tension between 245 stitches on a cable needle. Because the blanket is... well, the width of a blanket, it wouldn't fit on regular straight needles, so I used needles with a cable attaching them at each end. Despite its general convenience, the cable also meant that my stitches didn't hold their shape very well at first, but eventually I got the hang of it.
Photo Gallery
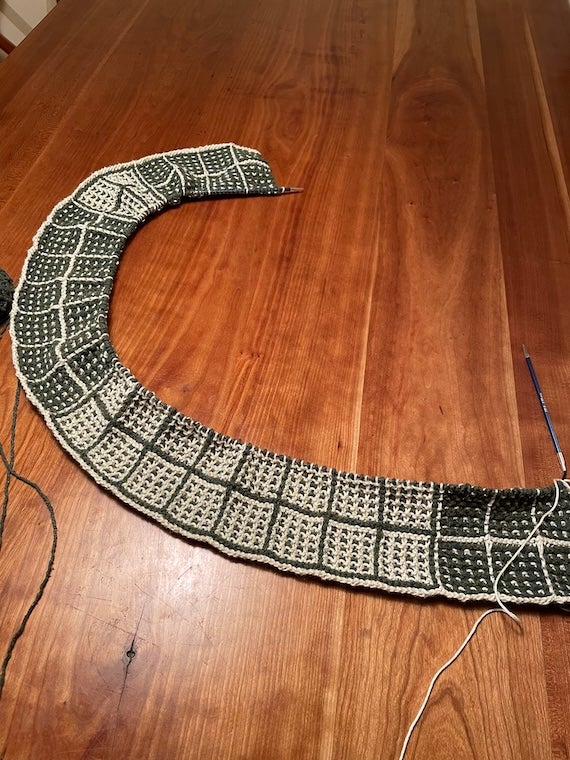
Throughout the first week of the project, I found myself relying heavily on Youtube tutorials. Although I did have prior experience with knitting, some of the details had become a little fuzzy since the last time I picked up a project. Fortunately, the internet knows all. As I worked my way through the first section of the blanket (Image 4) I half-googled half-remembered a few valuable tips and tricks, which I've decided to share in case you find yourself inspired to pick up a knitting project anytime soon:
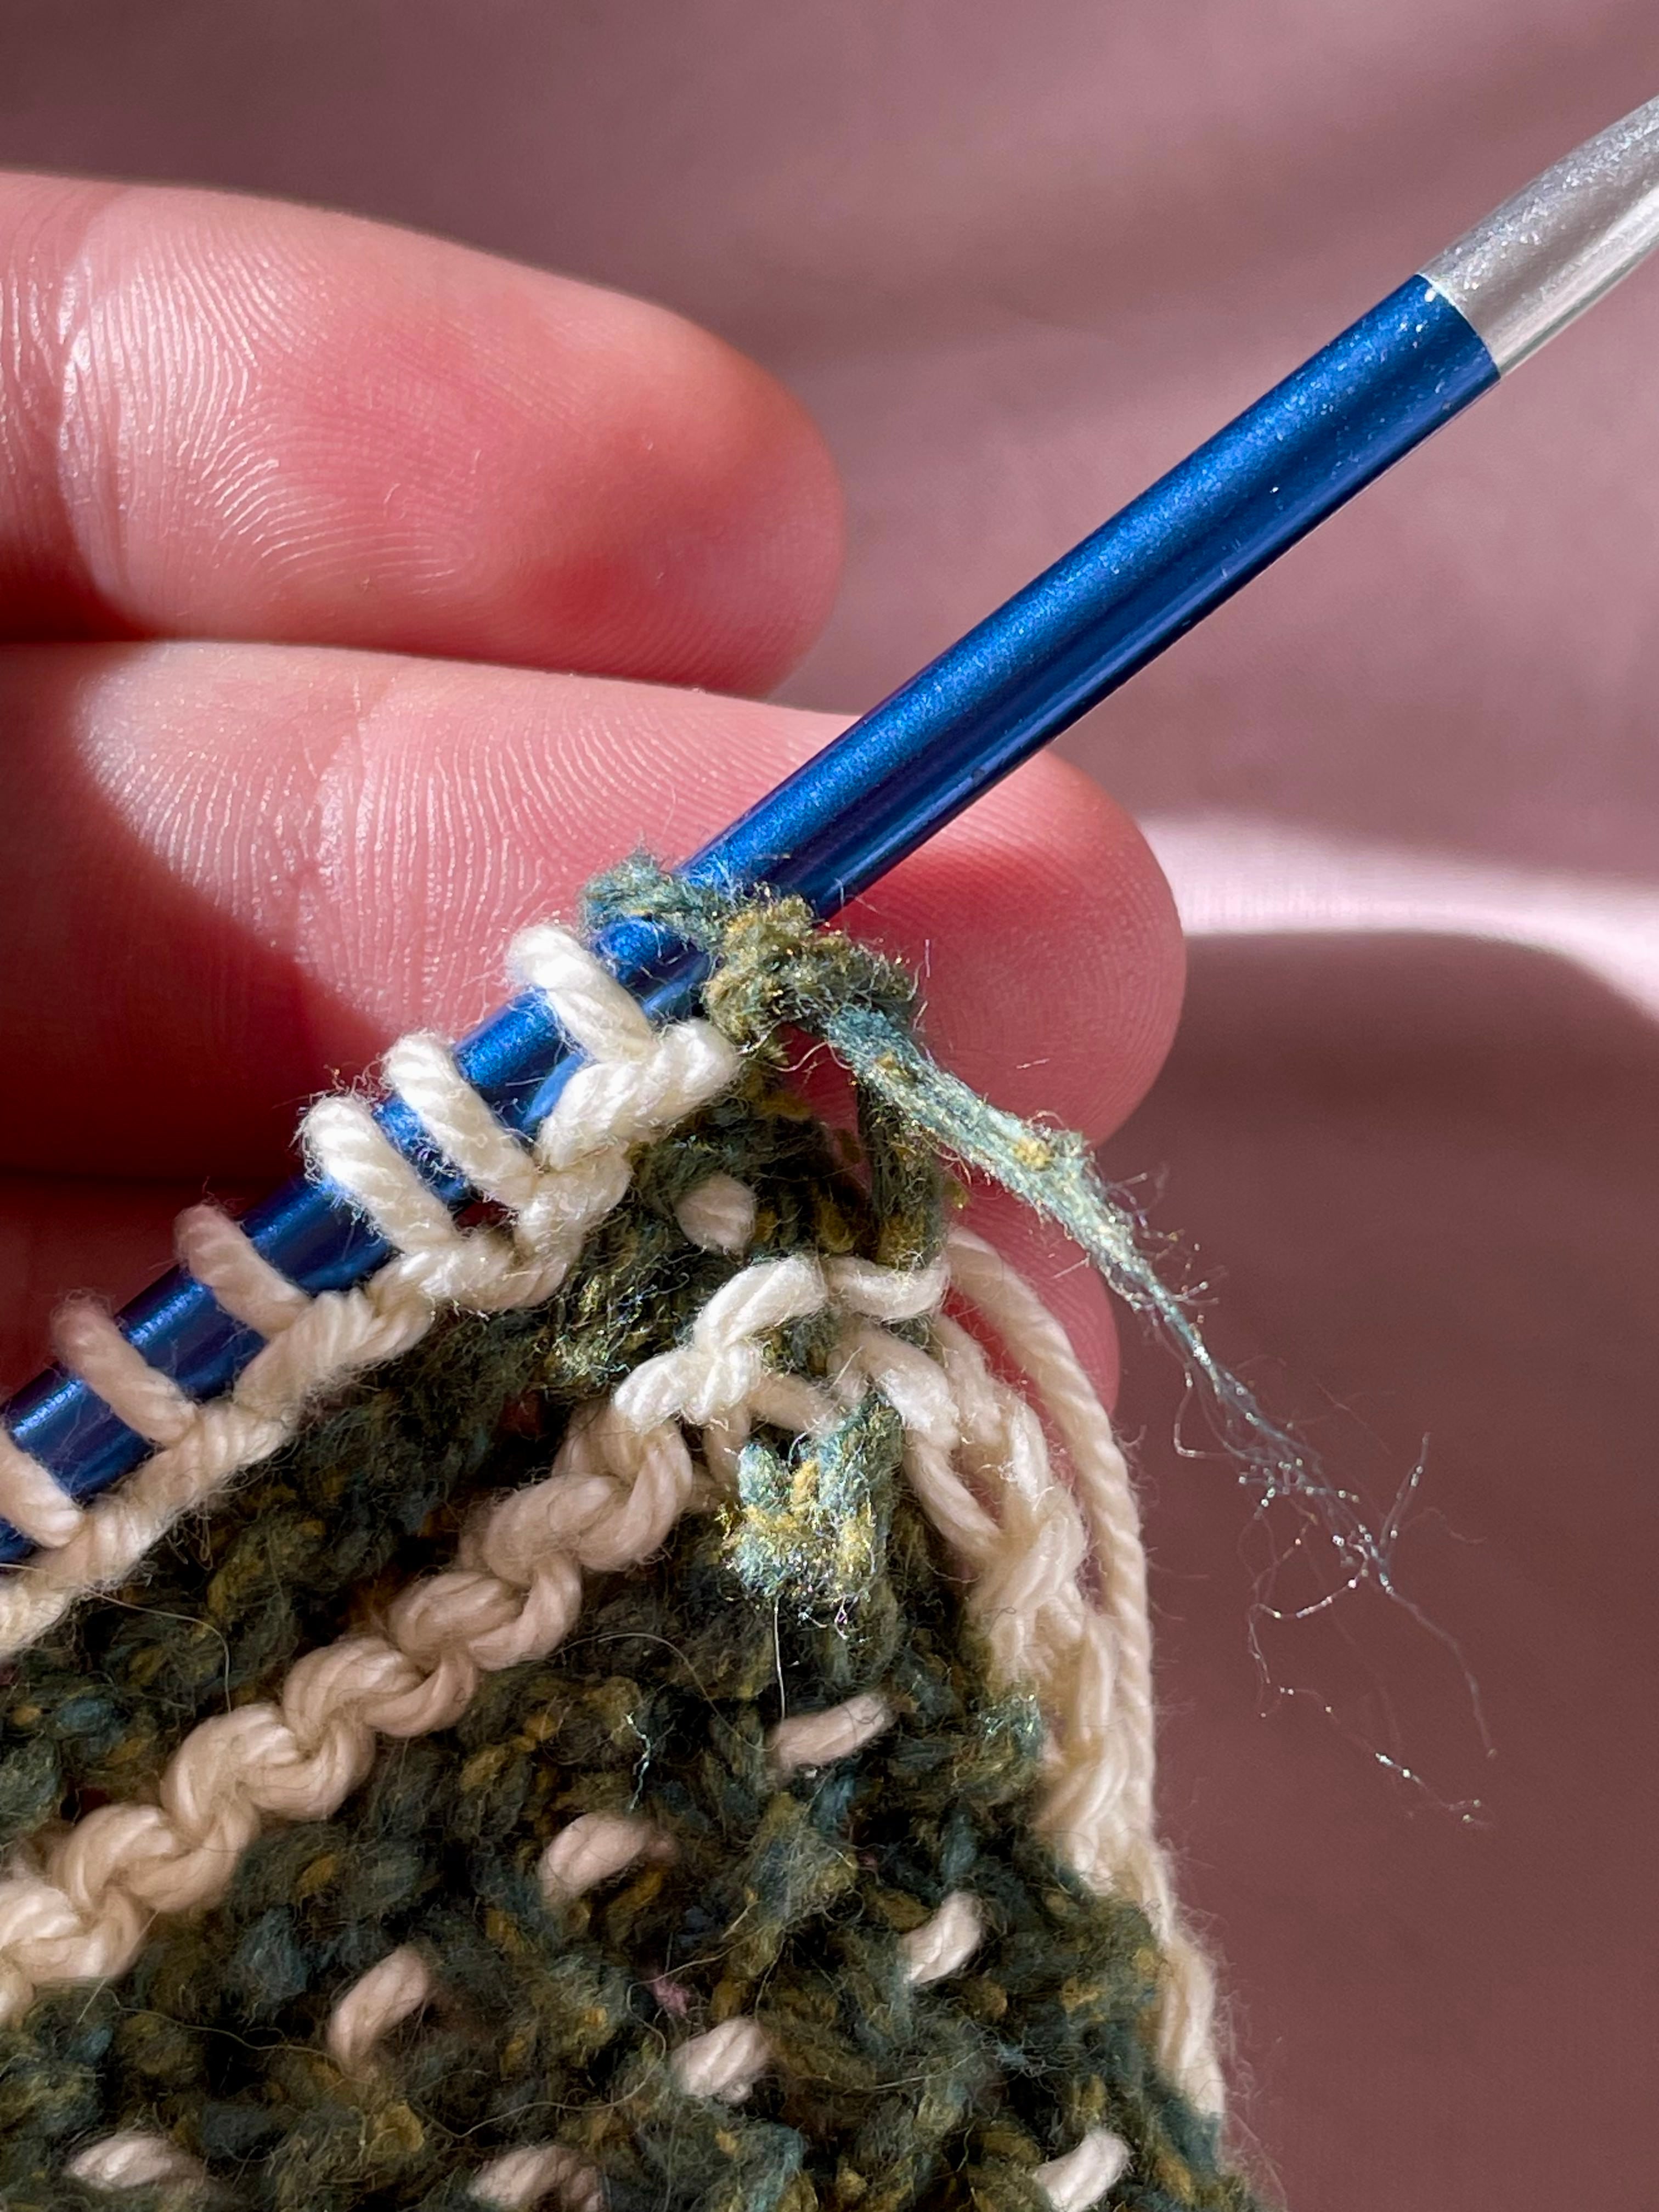
- Slipped stitches: This blanket heavily utilizes slipped stitches, which is the process of passing a stitch from one needle to the other without knitting it. Although I already knew how to slip stitches, I hadn't realized there were multiple ways to do so. After the first few rows of twisted stitches, I looked up the difference between knitwise and purlwise slips, which helped immensely. I also found it helpful to pay attention to whether the working end of the yarn was in front or in back of the needles (denoted as WYIF or WYIB in the pattern).
- Alternating colors: As we've already established, this pattern has two different yarns. In some patterns, the knitter would have to cut the yarn and switch between colors mid-row each time a new color is introduced, eventually leaving lots of tail ends to be woven in. The nature of this project actually allowed me to switch colors without cutting loose ends, which was super convenient. As a bonus, this will make the finishing process much more accessible when I finally get around to it.
- Memorizing the pattern: Despite the complexity of this pattern, I was surprised to discover how quickly I learned its ins and outs. Once I was familiar enough with the pattern, I was able to knit while simultaneously holding a conversation or watching a movie. I found it especially helpful to knit in different settings (car rides, social gatherings, etc.) to avoid losing interest in the project. Although it can get repetitive, I like being able to work towards the next milestone or break it up by working on other tasks in between.
- Knitting Continental: The most popular style of knitting taught in America is called English knitting, in which the right hand holds and manipulates the loose end of the yarn (also called the working end). In this project, having to switch between yarn-in-front and yarn-in-back made it very difficult to knit English, so I decided to teach myself Continental, a style in which the left hand holds the yarn and the needles move rather than the working yarn itself. It was certainly a struggle at first to work out the tension, but I ultimately discovered that it was easier to knit Continental than English, especially when I was knitting on the back side of the piece—also referred to as the wrong side.
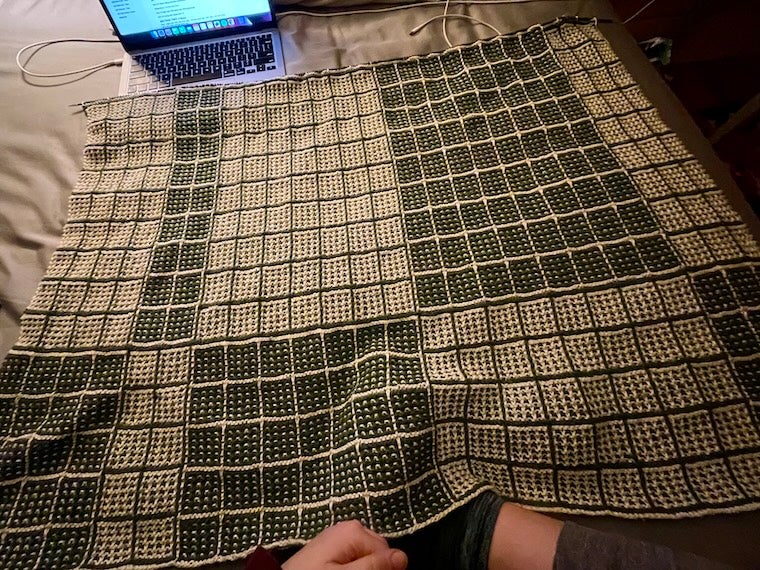
The most recent lesson I have learned is that knitting takes a long time. I recently timed myself, and it took me just over ten minutes to complete a single row of stitches. For context, the entire blanket has almost 700 rows, with 245 stitches each. That's more than 600,000 stitches, or, if my math is correct, nearly 130 hours. Unfortunately, that means I probably won't finish my blanket before the end of Winter Term, but that's okay! Currently, I'm a little more than halfway done (Image 6), and I'm excited to see where my momentum carries me. More than likely I'll have a project to work on as Spring Semester begins. I've really enjoyed working on this blanket so far, and it's been nice to have a cozy craft to curl up with on these cold winter days. I might even go as far as to say January hasn't been that bad after all...
Tags:
Similar Blog Entries


Winter Term According to My Friends
This year, I took a bit of a step back during winter term, and did not do as crazy and involved a project as I have done in past years, so I thought for my winter term recap I would interview my friends instead!
