Cooper International Learning Center
Audio Recorder Instructions
Audio Recorder is a very simple tool for recording your voice to a shareable format.
If the language lab is too noisy for you to make a good recording, ask the CILC staff for assistance.
First, open the Audio Recorder application by selecting the Audio Recorder icon on the dock.
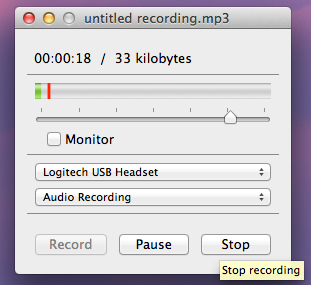
Then don the headset and speak into the microphone as you would for your recording. Observe the level of your voice on the gauge. Try to speak loudly enough that the gauge reads around 50-70 percent. Adjust the microphone sensitivity by moving the sliding control under the level gauge. When you are satisfied with the level, select Record to begin your recording.

Select Pause to take a break or Stop to end the recording.
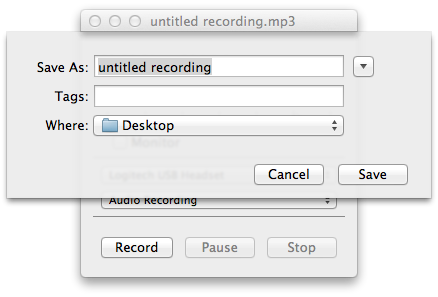
After Stop is selected, give your recording a name and select the location where it will be saved. Select Save to save your work.
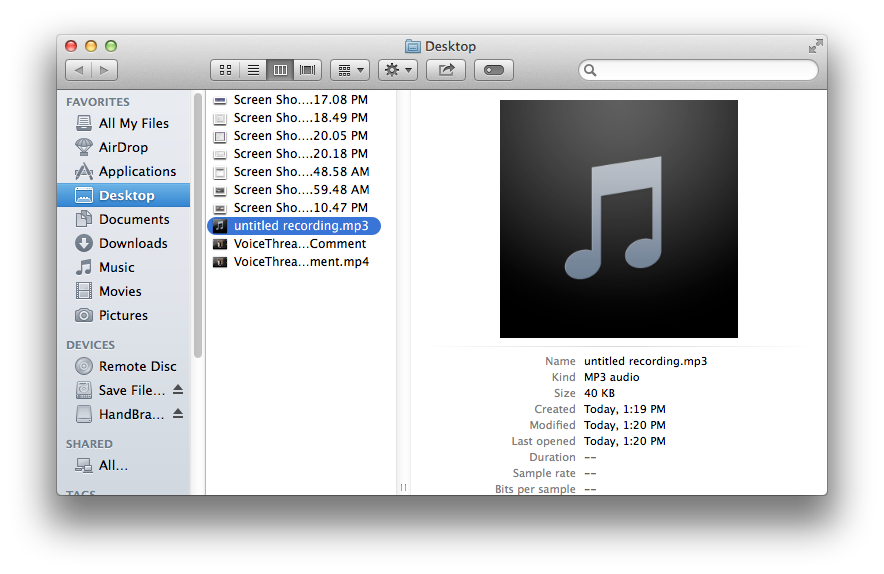
After saving, a Finder window will spawn with your file highlighted. Share or copy your file as needed to submit your work.